|
Tianjin Kilo steel&mechanical Co,. LTD
|
boiler pressure vessel steel plate alloy steel plate steel
| Place of Origin: | Tianjin, China (Mainland) |
|
|
|
| Add to My Favorites | |
| HiSupplier Escrow |
Product Detail
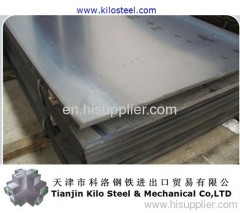
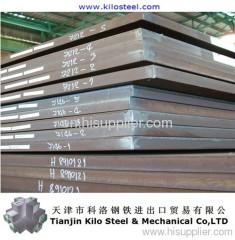
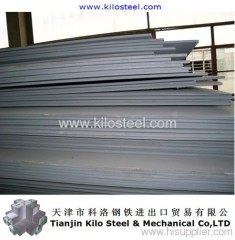
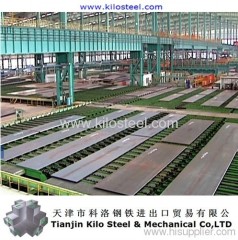
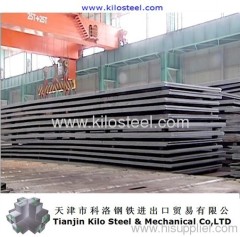
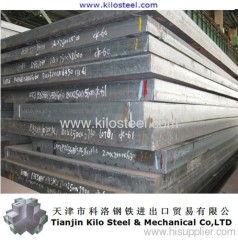
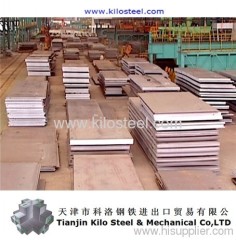
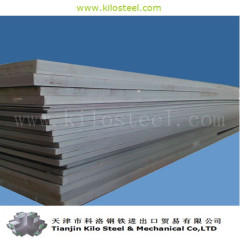
High strength low alloy steel plate A514 alloy high strength steel plate high strength steel plate high tensile steel plate
ITEMS | Grade A,% | Grade B,% | Grade C,% | Grade D,% | Grade E,% | Grade F,% | Grade G,% |
Maximum Thickness, in. (mm) | 1 1/4 (32:0.) | 1 1/4 (32.0.) | 1 1/4 (32.0) | 1 1/4 (32.0) | 16 (152) | 14 (10.2) | 2 (51.0.) |
Carbon | 0.15-0.21 | 0.12-0.21 | 0.10-0.20 | 0.13-0.20 | 0.12-0.20 | 0.10-0.20 | 0.15-0.21 |
Mn | 0.80-1.10 | 0.70-1.00 | 1.10-1.50 | 0.40-0.70 | 0.40-0.70 | 0.60-1.00 | 0.8001.10 |
P, max | 0.035 | 0.035 | 0.035 | 0.035 | 0.035 | 0.035 | 0.035 |
S,max | 0.04 | 0.04 | 0.04 | 0.04 | 0.04 | 0.04 | 0.04 |
Silicon | 0.40-0.80 | 0.20-0.35 | 0.15-0.30 | 0.20-0.35 | 0.20-0.35 | 0.15-0.35 | 0.50-0.90 |
Nickel | ... | ... | ... | ... | ... | 0.70-1.00 | ... |
Chromium | 0.50-0.8 | 0.4-0.65 | 0.85-1.2 | 1.4-2.00 | 0.4-0.65 | 0.50-0.90 | |
Mo | 0.18-0.28 | 0.15-0.25 | 0.20-0.30 | 0.15-0.25 | 0.40-0.60 | 0.40-0.60 | 0.40-0.60 |
Vanadium | ... | 0.03-0.08 | ... | A | A | 0.03-0.08 | ... |
Titanium | ... | 0.01-0.03 | ... | 0.04-0.10 | 0.04-0.10 | ... | ... |
Zirconium | 0.05-0.15B | ... | ... | ... | ... | ... | 0.05-0.15B |
Copper | ... | ... | ... | 0.20-0.40 | 0.20-0.40 | 0.15-0.50 | ... |
Boron | 0.0025max | 0.0005-0.005 | 0.001-0.005 | 0.0015-0.005 | 0.0015-0.005 | 0.0005-0.006 | 0.0025-max |
ITEMS | Grade J,% | Grade K,% | Grade L,% | Grade M,% | Grade N,% | Grade P,% | Grade Q,% |
Maximum Thickness, in. (mm) | 1 1/4 (32) | 2 (51.0.) | 2 (51.0.) | 2 (51.0.) | 3/4 (19·0.) | 6(152) | 6(152) |
Carbon | 0.12-0.21 | 0.10-0.20 | 0.13-0.20 | 0.12-0.21 | 0.15-0.21 | 0.12-0.21 | 0.14-0.21 |
Manganese | 0.45-0.70 | 1.1-1.50 | 0..40.- 0..70. | 10..45- 0..70. | 0.80-1.10 | 0.45-0.70 | 0.95-1.30 |
Phosphhorus, max | 0.035 | 0.035 | 0.035 | 0.035 | 0.035 | 0.035 | 0.035 |
Sulfur,max | 0.04 | 0.04 | 0.04 | 0.04 | 0.04 | 0.04 | 0.04 |
Silicon | 0.20-0.35 | 0.15-0.30 | 0.20-0.35 | 0.20-0.35 | 0.40-.0.90 | 0.20-0.35 | 0.15-0.35 |
Nickel | ... | ... | ... | 1.20-1.50 | 1.20-1.50 | 1.20-1.50 | |
Chromium | ... | ... | 1.15-1.65 | ... | 0.50-0.80 | 0.85-1.20 | 1.00-1.50 |
Molybdenum | 0.50-0.65 | 0.45-0.55 | 0.25-0.40 | 0.45-0.60 | 0.25-max | 0.45-0.60 | 0.40-0.60 |
Vanadium | ... | ... | A | ... | ... | ... | ... |
Titanium | ... | ... | 0.04-0.10 | ... | ... | ... | ... |
Zirconium | ... | ... | ... | 0.05-0.15 | ... | ... | |
Copper | ... | ... | 0.20-0.40 | ... | ... | ... | ... |
Boron | 0.001-0.005 | 0.001-0.005 | 0.0015-0.005 | 0.001-0.005 | 0.005-0.0025 | 0.001-0.005 | ... |
A May be substituted for part or all of. titanium content on a one for one basis | |||||||
B Zirconium may be replaced by cerium. When cerium is added, the cerium/sulfur ratio should be approximately 1.5 to 1, based upon heat analysis. | |||||||
TABLE 2 Tensile and Hardness Requirements | |||||
NOTE 1-0n plates wider than 24 in. (610 mm), the test specimen shall be taken in the transverse direction. | |||||
NOTE 2-Either the full thickness rectangular specimen shown in Fig. 4 of ASTM Methods and Definitions A 370 for Mechanical Testing of Steel Products;' or the 'h-in. (12.S-mm) diameter specimen shown in Fig. S of Methods A 370 may be used for plates over '/. to 1'12 in. (19 to 40 mm) in thickness. | |||||
Thickness, in. | Ultimate Tensile Strength ,ksi(Mpa) | Yield StrengthA, min,kis(MPa) | Enlongation in 2in. or 50mm, B,C,E % | Reducion of AreaBC, min % | Brinell hardnessD Number |
To '/4, incl | 110 to 130 (760 to 895) | 100 (690) | 18 | 40E | 235 to 293 |
Over '/4 to 2'12, incl | 110 to 130 (760 to 895) | 100 (690) | 18 | 40E,50F | ... |
Over 2'12 to 6, incl | 100 to 130 (690 to 895) | 90(620) | 18 | 50F | ... |
A Measured at 0.2 % offset or O.S % extension under load as described in Section 13 of Methods A 370. B Elongation and reduction of area not required to be determined for floor plates. c For plates tested in the transverse direction, the elongation minimum percent is reduced by 2 % and the reduction of area minimum requirement is reduced by S %. D See Section 7. E When measured on the Fig. 4 (Methods A 370) l'h-in. (40-mm) wide specimen (see Note 2 above), the elongation is determined in a 2-in. or SO-mm gage length which includes the fracture and shows the greatest elongation. F When measured on the Fig. S (Methods A 370) liz-in. (12.5-mm) round specimen (see Note 2 above | |||||
Didn't find what you're looking for?
Post Buying Lead or contact
HiSupplier Customer Service Center
for help!
Related Search
Boiler Pressure Vessel Plate
Pressure Vessel Steel Plates
Steel Pressure Vessel
Steel Plate
Plate Steel
Pressure Vessel Plate
More>>


